
 Jayashee
Video credit: Recipe creator via YouTube.
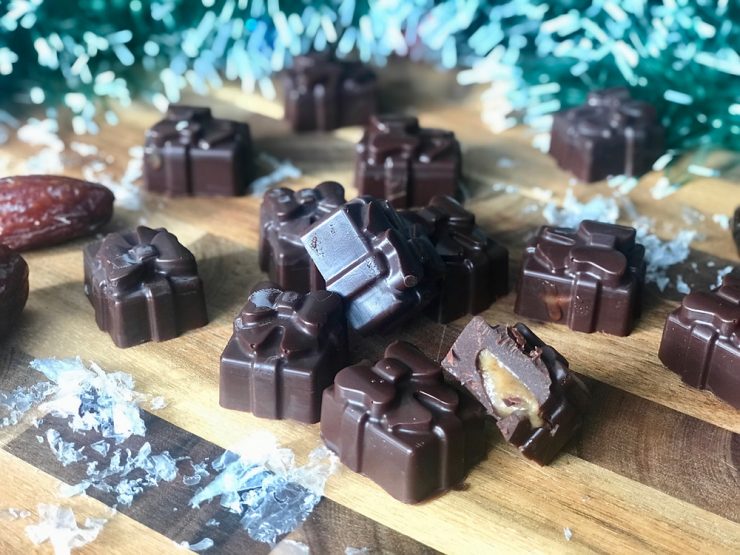
Imagine biting through a thin, snappy chocolate shell and discovering a soft, sticky, sweet caramel center underneath. Now imagine that caramel is made with dates and tahini instead of the usual heavy ingredients.
That is exactly what makes these Chocolate Covered Salted Date Caramels so much fun.
This homemade vegan candy combines rich cacao, cocoa butter, coconut oil, maple syrup, dates, coconut milk, tahini, vanilla, and a little salt. The result is a delicious chocolate treat with a sweet, nutty, slightly salty center.
Why These Chocolate Date Caramels Are So Special
There is something magical about homemade chocolates.
They look fancy enough for a gift box, but you can make them right in your own kitchen.
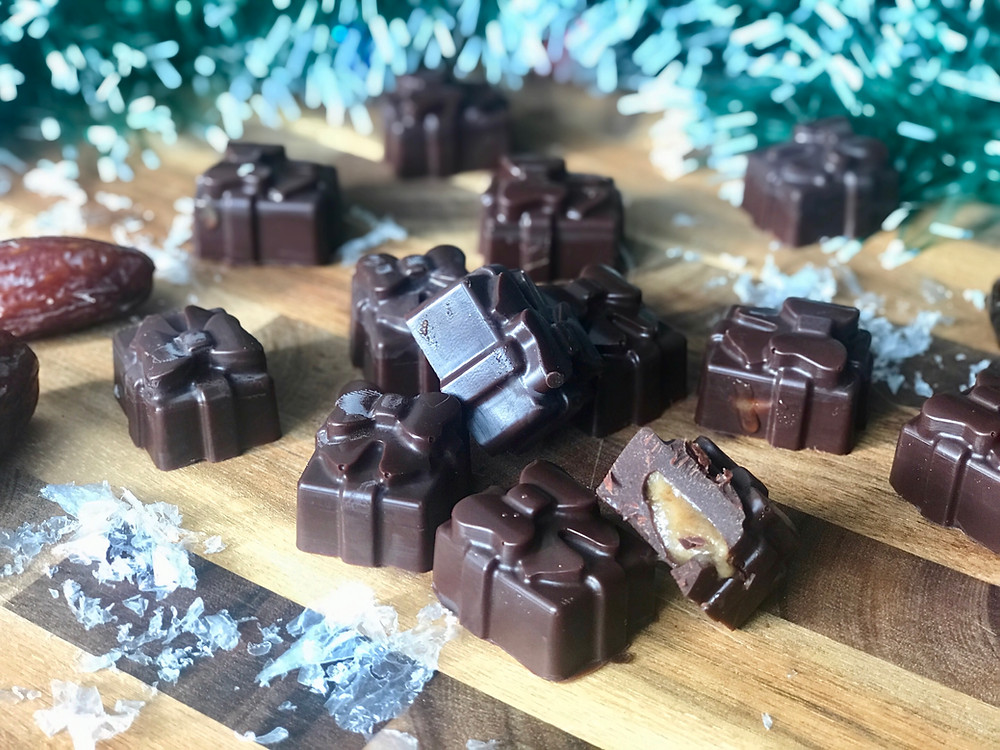
These salted date caramels are especially appealing because the filling is made by blending dates with tahini, coconut milk, maple syrup, and salt. The dates provide sweetness and a naturally sticky texture, while tahini adds a wonderful nutty depth.
The finished candy has several layers of flavor:
- Rich chocolate on the outside
- Sweet date caramel in the middle
- Nutty tahini underneath the sweetness
- A touch of salt for contrast
- A subtle warmth from cayenne in the chocolate
It’s the sort of dessert that makes you say, “I’ll just have one.”
And then, mysteriously, the container is empty.
What Is Date Caramel?
Date caramel is a simple dessert filling made by blending soft dates with other ingredients until they become thick and creamy.
Dates are naturally sticky and sweet, so they make an excellent base for a caramel-style filling.
For this recipe, the dates are combined with coconut milk, tahini, maple syrup, and salt.
If your dates are particularly dry, soaking them in hot water for about 10 minutes can help soften them before blending.
This little trick can make a big difference when you’re trying to create a smooth filling.
Ingredients You’ll Need
For the Chocolate Shell
- 1¼ cups food-grade cocoa butter, finely chopped
- 2 tablespoons coconut oil
- 1 cup raw cacao powder
- ¼ cup maple syrup
- 1 teaspoon vanilla
- A pinch of salt
- A tiny pinch of cayenne
For the Salted Date Caramel
- 1 cup chopped dates
- ½ cup coconut milk
- 2 tablespoons tahini
- 2 tablespoons maple syrup
- ⅛ teaspoon salt
Equipment
- Silicone candy mold
- Food processor
- Heatproof bowl
- Small saucepan
- Whisk
- Piping bag or zip-top bag
How to Make Chocolate Covered Salted Date Caramels
Step 1: Prepare the Chocolate
Start by creating a simple double boiler.
Add about an inch of water to a saucepan and bring it to a gentle simmer.
Place a heatproof bowl over the saucepan, making sure the bottom of the bowl does not touch the water.
Add the chopped cocoa butter and coconut oil.
Stir occasionally until completely melted.
Step 2: Add the Chocolate Ingredients
Remove the bowl from the heat.
Whisk in the maple syrup, vanilla, salt, and cayenne.
Then add the cacao powder.
Whisk until the mixture is smooth and glossy.
The chocolate should look completely blended, with no dry cacao powder remaining.
Step 3: Make the Chocolate Shells
Pour a small amount of melted chocolate into each cavity of your silicone candy mold.
Gently tilt and rotate the mold so the chocolate coats the bottom and sides.
You don’t want a huge amount of chocolate here. The goal is a shell that’s sturdy enough to hold the caramel while still allowing you to enjoy that soft center.
Place the mold in the freezer for several minutes until the chocolate has firmed up.
Step 4: Blend the Date Caramel
While the chocolate sets, prepare the filling.
Add the chopped dates, coconut milk, tahini, maple syrup, and salt to a food processor.
Blend until the mixture becomes thick and smooth.
If the dates are very dry, soak them in hot water first, drain them well, and then process them.
Scrape down the sides of the food processor as necessary.
Step 5: Transfer the Caramel
Transfer the date caramel into a piping bag or a small zip-top bag.
Snip off one corner.
This makes it much easier to fill small candy molds without turning your kitchen counter into a caramel crime scene.
Step 6: Fill the Chocolate Shells
Remove the chilled mold from the freezer.
Pipe the date caramel into the center of each chocolate shell.
Don’t fill the cavities all the way to the top. Leave enough space for another layer of chocolate.
Keeping the caramel away from the edges also helps the final chocolate layer seal the candy properly.
Step 7: Add the Final Chocolate Layer
Pour the remaining melted chocolate over the caramel.
Make sure each piece is completely covered.
Smooth the tops if necessary.
Return the mold to the refrigerator or freezer until the chocolate is firm.
Step 8: Remove and Enjoy
Once the chocolates are completely set, gently flex the silicone mold and pop out the finished caramels.
That’s it.
You now have homemade chocolate candies with a soft salted date caramel center.
Tips for the Smoothest Date Caramel
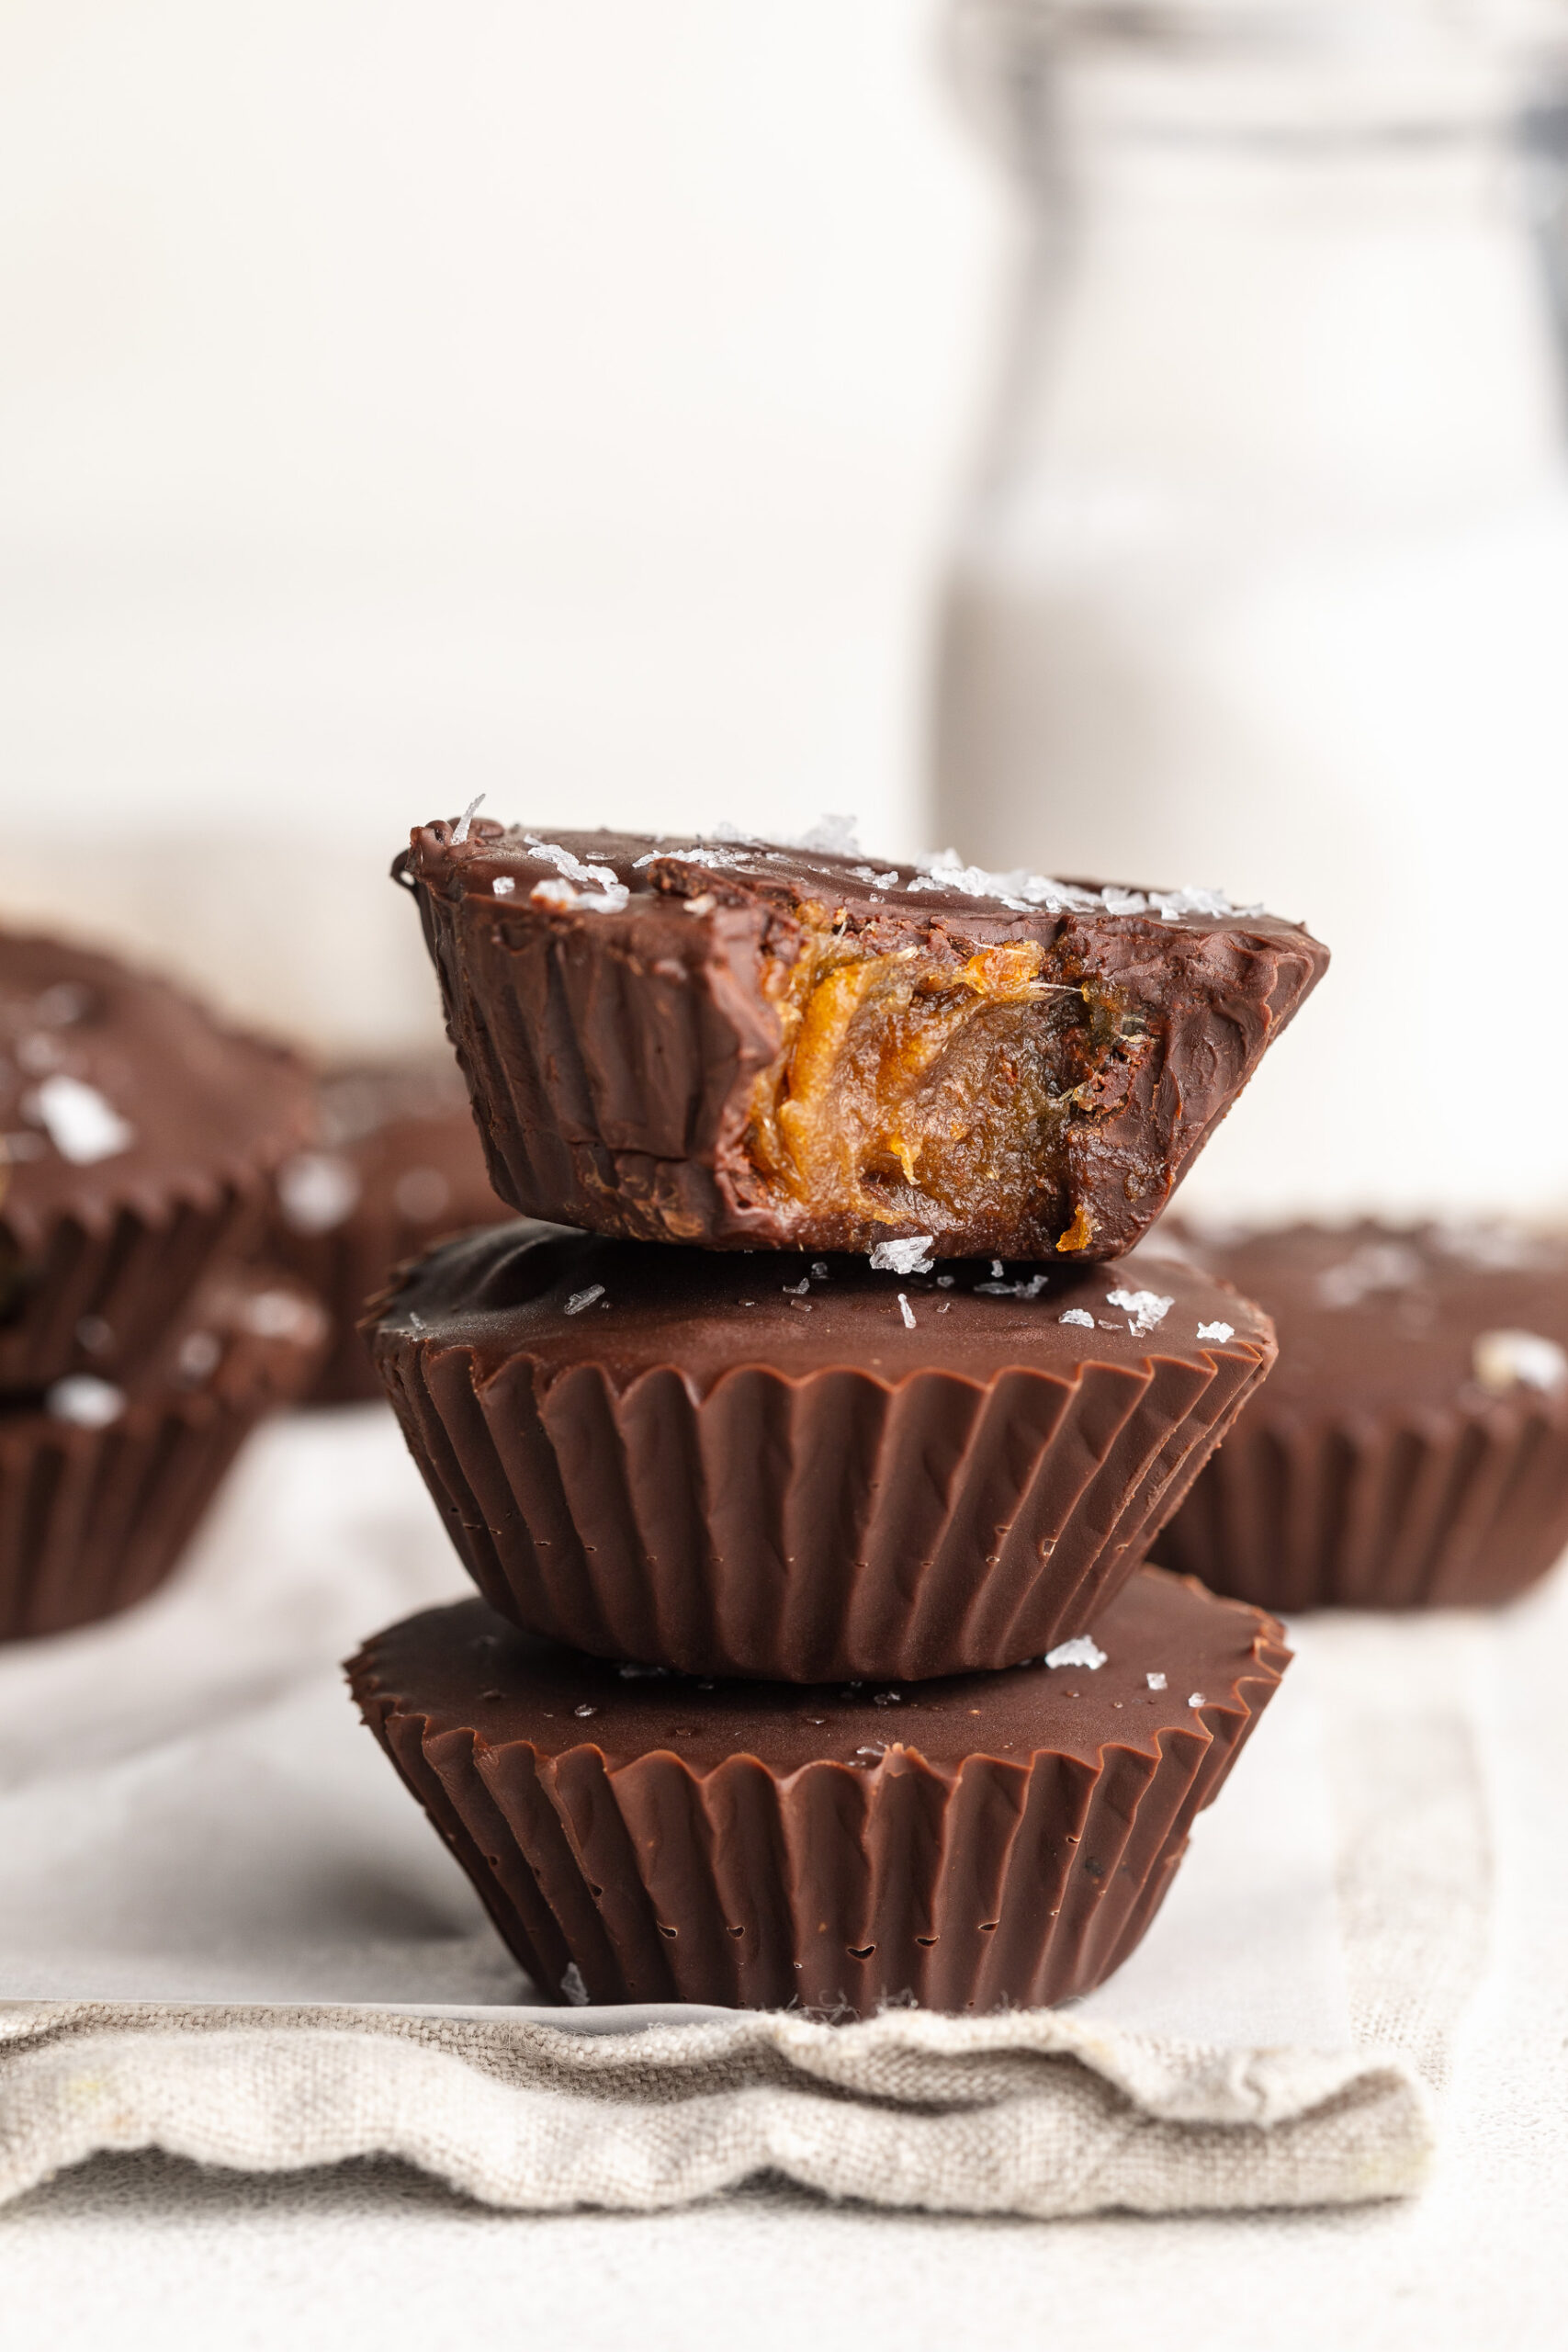
The texture of the filling is one of the most important parts of this recipe.
If your dates are soft and fresh, they should blend fairly easily. Older or drier dates can be much tougher.
In that case, soak them in hot water for approximately 10 minutes.
Drain them thoroughly before adding them to the food processor.
Keep processing until the mixture looks creamy rather than chunky.
If your food processor needs help, stop occasionally and scrape the sides.
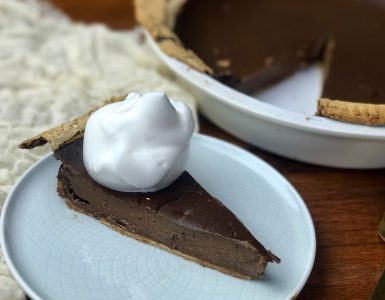
For another delicious date-based recipe, check out Chocolate Sweet Potato Pie.
Why Tahini and Dates Are a Great Combination
Dates are naturally sweet, while tahini has a rich, nutty flavor with a slight bitterness.
That contrast is exactly what makes the filling interesting.
Instead of tasting like straight sugar, the caramel has depth.
Then the salt comes in and sharpens everything.
It’s a classic sweet-and-salty flavor combination, just with a plant-based twist.
What Does Cayenne Do?
You may notice the recipe includes a tiny pinch of cayenne in the chocolate.
Don’t worry. These aren’t supposed to taste like spicy candy.
A very small amount of cayenne can add a gentle warmth that complements the cacao.
If you’re not a fan of spicy flavors, simply leave it out.
How to Make the Chocolate Shells Perfect
Making the shell is easier when you take your time.
- Use finely chopped cocoa butter so it melts evenly.
- Keep water away from the chocolate mixture.
- Coat the mold evenly.
- Allow the first chocolate layer to set before adding caramel.
- Don’t overfill the caramel centers.
- Make sure the final chocolate layer completely covers the filling.
A silicone mold is particularly helpful because the finished candies can be released without wrestling with the mold.
Can You Make These Without a Candy Mold?
Yes, although the shape will be different.
You can experiment with small silicone cups or mini muffin liners.
The goal is to create a chocolate container for the date caramel, so the exact shape isn’t critical.
If you enjoy homemade chocolate cups, try Aurora’s Vegan Peanut Butter Cups next.
How to Store Chocolate Date Caramels
Because the center is soft, these caramels are best stored chilled.
Place them in an airtight container and keep them in the refrigerator.
You can also freeze them for a firmer texture.
If frozen, allow a caramel to sit for a few minutes before eating so the center becomes softer.
That little waiting period can be difficult.
We understand.
Are These Vegan Chocolate Caramels?
Yes. The recipe is designed with plant-based ingredients including cocoa butter, coconut oil, cacao, maple syrup, dates, coconut milk, and tahini.
As always, if you’re cooking for someone with a specific allergy or dietary restriction, check packaged ingredient labels carefully.
Are Chocolate Date Caramels Gluten-Free?
The recipe does not use wheat flour or other obvious gluten-containing ingredients.
For strict gluten-free preparation, choose appropriately labeled ingredients and take care to prevent cross-contact during preparation.
Perfect for Homemade Gifts
These little chocolates are practically made for gifting.
Arrange several in a small food-safe box.
Add mini paper candy liners, close the box, and finish it with a ribbon.
Suddenly, you’ve got a homemade chocolate gift that looks like it came from a boutique candy shop.
And there’s something extra nice about giving someone a box of chocolates you actually made yourself.
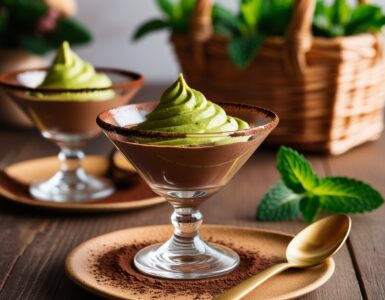
For another homemade chocolate idea, try Vegan Avocado Chocolate Mousse.
When to Serve These Homemade Caramels
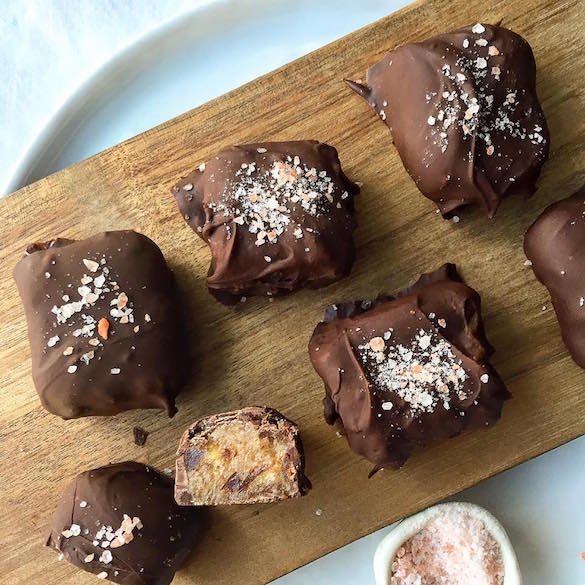
These chocolate date caramels are perfect for almost any occasion.
- Holiday dessert tables
- Valentine’s Day
- Birthday parties
- Dinner parties
- Homemade food gifts
- Afternoon coffee
- Vegan dessert platters
- After-dinner treats
They also make a fun addition to a homemade dessert box alongside Chocolatey Banana Oatmeal Muffins.
Easy Flavor Variations
Chocolate Orange Date Caramels
Add a little orange zest to the chocolate mixture for a bright citrus flavor.
Extra-Salty Chocolate Caramels
Sprinkle a few flakes of sea salt over the finished chocolates before the chocolate completely sets.
Chocolate Peanut Butter Date Caramels
Try replacing part of the tahini with natural peanut butter for a chocolate-peanut-butter version.
Coconut Chocolate Caramels
Add a little unsweetened shredded coconut to the filling for a tropical twist.
If coconut is one of your favorite dessert flavors, save Coconut Gingerbread Eggnog for a cozy drink to serve alongside your sweets.
Why Sweet and Salty Tastes So Good Together
Sweet and salty flavors create contrast.
The dates and maple syrup bring sweetness.
Tahini adds nuttiness.
Cacao adds deep chocolate flavor and a little bitterness.
Salt makes those flavors stand out.
And the optional cayenne adds a gentle warmth.
It’s a small ingredient list with a surprisingly big personality.
Chocolate Covered Salted Date Caramels Recipe
Chocolate Ingredients
- 1¼ cups food-grade cocoa butter, finely chopped
- 2 tablespoons coconut oil
- 1 cup raw cacao powder
- ¼ cup maple syrup
- 1 teaspoon vanilla
- Pinch of salt
- Pinch of cayenne
Date Caramel Ingredients
- 1 cup chopped dates
- ½ cup coconut milk
- 2 tablespoons tahini
- 2 tablespoons maple syrup
- ⅛ teaspoon salt
Instructions
- Bring approximately one inch of water to a simmer in a saucepan.
- Place a heatproof bowl over the saucepan without allowing it to touch the water.
- Add the cocoa butter and coconut oil and melt gently.
- Remove the bowl from the heat.
- Whisk in maple syrup, vanilla, salt, and cayenne.
- Add cacao powder and whisk until smooth.
- Pour a small amount of chocolate into each silicone candy mold cavity.
- Rotate the mold gently to coat the sides.
- Freeze for several minutes until the chocolate sets.
- Add the dates, coconut milk, tahini, maple syrup, and salt to a food processor.
- Blend until smooth and creamy. Soak very dry dates in hot water for approximately 10 minutes first, then drain well.
- Transfer the date caramel to a piping bag or zip-top bag.
- Pipe the caramel into the chocolate shells, leaving room for the final chocolate layer.
- Cover each caramel center completely with the remaining chocolate.
- Chill until firm.
- Remove the caramels from the silicone mold and serve.
More Vegan Chocolate Recipes
If you can’t get enough chocolate, there are plenty of other recipes worth trying.
Vegan Sweet Potato Brownies offer a fudgy chocolate dessert with sweet potato.
For something creamy and refreshing, try Avocado Key Lime Pie.
And for a quick chocolate breakfast treat, Chocolatey Banana Oatmeal Muffins are an easy choice.
Final Thoughts
These Chocolate Covered Salted Date Caramels are proof that homemade candy doesn’t have to be complicated.
The process is simple: make the chocolate, create the date caramel, build the layers, chill everything, and pop the finished candies out of the mold.
What you get is a beautiful little chocolate with a soft, sweet, salty center.
They’re great for gifting, entertaining, holiday desserts, or simply keeping a container in the refrigerator for those moments when a chocolate craving suddenly appears.
Start with the original recipe, then have fun with the flavors.
Add orange.
Try extra salt.
Experiment with peanut butter.
Or add coconut.
Once you’ve made them once, you’ll probably start thinking about what you can put inside the next batch.
And that, of course, is how a simple homemade chocolate recipe becomes a new kitchen obsession.



Add comment